Air Fryer Pizza Dough
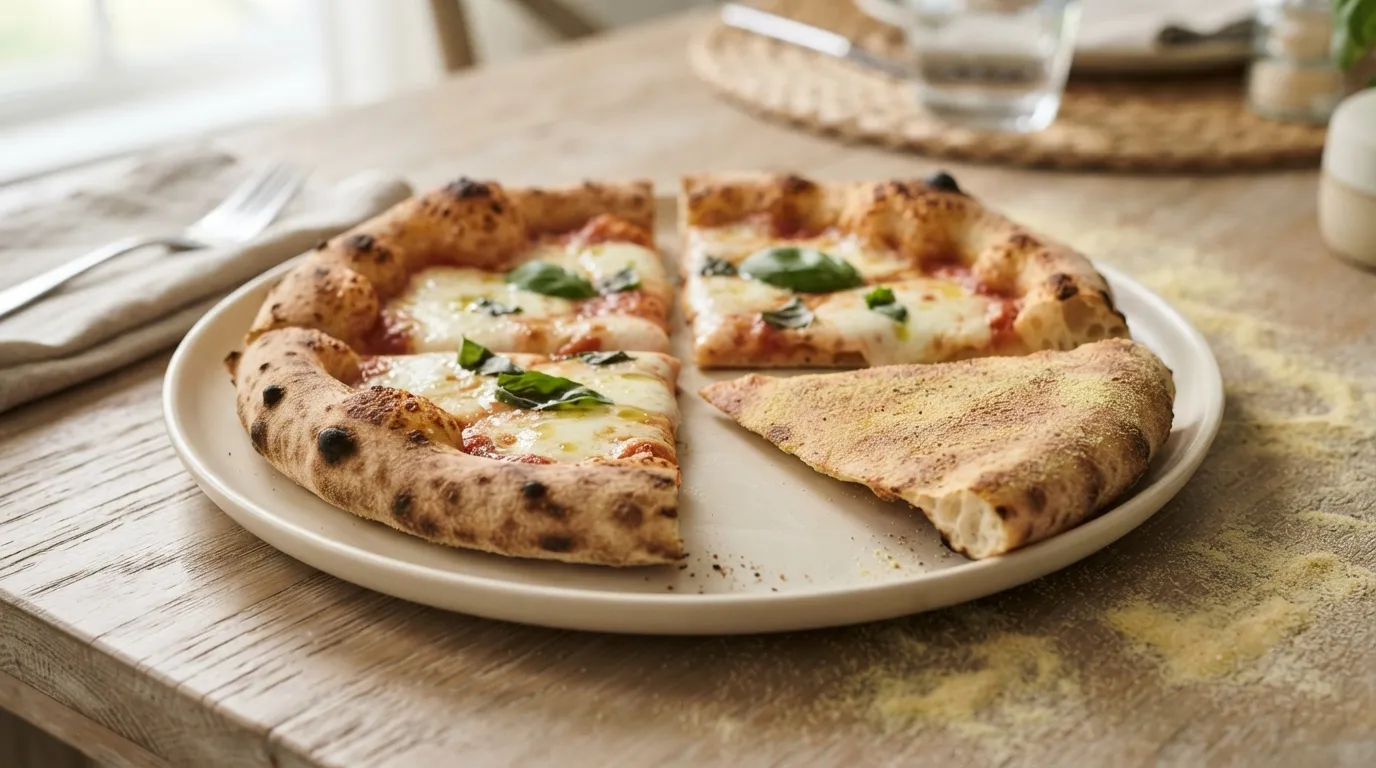
Temperature
375°F
190°C
Time
9 min
1 personal pizza (7-inch)
Heat through to
Piping hot
cooked right through
Prep
40 min
Cook
9 min
Total
49 min
A ball of shop-bought pizza dough becomes a personal pizza in about nine minutes at 375°F (190°C), in two stages: five minutes bare, then turned over, topped, and given the last four. Every recipe gives that order and most explain it well enough. What almost none of them says is what the order costs you - that the underside of your finished pizza gets made while there is still no pizza, and that the moment the sauce goes on, the middle of the base loses the only route its moisture had out.
Ingredients
Quantities for 1 personal pizza (7-inch) - the times on this page assume that much in the basket.
- 5 oz pizza dough (a third of a 1 lb ball), at room temperature
- 2 tbsp fine semolina or flour, for rolling
- 1 tsp olive oil, for brushing the base
- 3 tbsp tomato pizza sauce
- 2 oz low-moisture mozzarella, torn or coarsely grated
- 4-5 small basil leaves, to finish
How to air fry pizza dough
- Take the dough out of the fridge half an hour before you want it and leave it covered on the counter. Cold dough springs back as fast as you roll it, and what you end up with is a base twice the thickness you were aiming for - which is the thing this recipe cannot afford. Dust the counter with the semolina, press the dough out from the centre with your fingertips, then roll it to about 7 inches across and a scant quarter-inch thick, keeping the outer half-inch very slightly thicker as a rim. Prick it all over with a fork, right through to the counter. Brush one side with the olive oil; that is the side that goes up. Have the sauce and the cheese out beside the machine before you start, because the base is only on the counter for a few seconds in the middle of the cook. The basil goes on as the pizza leaves the basket rather than before it - a small leaf blackens in the airflow long before the cheese has melted.
- Preheat the air fryer to 375°F (190°C).
- Add the fresh pizza dough to the basket. One base at a time, laid flat with half an inch of bare basket showing all the way round. A round rolled right out to the walls curls up them as it sets, and a curled edge is the one shape you cannot turn over - so size the base to the basket rather than to the pizza you had in mind. Roll and prick the next one while the first is cooking.
- Cook for about 9 minutes, turning the base over at 5 minutes and topping the face that was underneath - the sauce thin and stopping short of the rim, then the cheese.
Pro tip
A trapped bubble costs more here than it does in an oven, which is the reason the base gets pricked right through before it goes in rather than merely scored across the top. The air has nowhere else to go, so it lifts a patch of dough up towards the element into the fastest air in the drawer: that patch scorches while the base around it is still pale, and it leaves a crater for the sauce to pool in later. If one comes up anyway, open it with the point of a knife and press it flat. It will not rise a second time once the surface has set.
How to tell when it's done
The judgement that matters happens in the middle of the cook rather than at the end. When the base comes out at five minutes it should be dry to the touch, stiff enough to lift with tongs without folding over itself, and freckled pale gold on the face that was pointing up. Press the very centre with a fingertip: it wants to feel firm, like a cracker that has not browned yet. If it gives there, put it back bare for another minute or two before you top it - the section below is about why that minute is not available later. At the end you are only reading the toppings and the edge: the cheese fully molten and just beginning to colour where it meets the crust, and the rim itself deep gold and firm enough to hold a slice out straight. Lift a corner and look underneath before you cut it. You want dry and set right across, not only round the border.
Air fryer pizza dough: the sauce does not stop the base cooking, it stops the water leaving
Nine minutes at 375°F (190°C), and the first five of them happen before there is a pizza. Why the bare base goes first is already set out on this site, on our Pillsbury biscuits page, and there is no sense in making the argument twice: the element in a basket air fryer sits above the food, the preheated sheet pan the oven recipe quietly assumed you had is not in there with you, and turning the dough over is the substitute for it. A thin basket at 375°F is not a stone that has been sitting at 500°F for half an hour, and no amount of the right technique makes it one. For a biscuit that is the end of the story. For a pizza it is not, because a pizza is the only thing that goes into this basket as one object and comes out as another - and what it turns into halfway through decides what the last four minutes are still able to do.
So look at where the dough actually is once the sauce and the cheese are on it. Underneath, nothing has changed, and this site is clear about why: our brussels sprouts page has a flat face against the perforated basket browning the way it would in a hot pan, because metal conducts far better than air does - and a rolled base has more contact with that metal than anything else here. The bottom carries on cooking. What changes is the face pointing up. Bare, it had fast dry air over it and a free route out for its water. Covered, it has neither, and the wet layer sitting on it is a supply rather than a loss. So the middle of the base spends the last four minutes being dried from one side and wetted from the other, while the rim you left bare keeps both of the things it started with. That is the whole explanation for the way these come out - crisp round the edge and slack in the middle, on a pizza where the edge and the middle are the same dough rolled to the same thickness. It usually gets put down to a heavy hand with the jar, and less sauce genuinely is better, but the quantity is not the mechanism. The middle lost its way out when you topped it, and the rim did not.
Which makes the flip a deadline rather than a browning step. Recipes point your attention at the end of the cook - watch for the cheese bubbling, watch for gold - and by then every decision has already been taken. The one that counts comes at five minutes with the bare base in your hand, and it takes a second: press the centre, and if it is soft there now, four minutes under a wet topping is not the thing that will fix it. Another minute bare costs you nothing and it is the last minute the middle gets with both faces free. The same reasoning is why the mozzarella here is the low-moisture kind rather than a ball sitting in brine, and why the sauce goes on in a thin layer - not because water spoils a crust in general, but because every drop of it lands on the one face that has just lost its way out. Our burritos page hits the same wet-layer problem and cannot solve it, which is what makes the two worth reading together: a burrito's water is inside the food, pressed against the shell from the first second to the last, so all that page can offer is a choice about where the crisp goes. Yours arrives from a jar, at a moment you pick. That is a scheduling problem, and scheduling problems have answers.
Converting from an oven recipe
If your recipe is written for a conventional oven, lower the temperature by about 25°F (15°C) and reduce the time by roughly 20% to land near 375°F for 9 minutes. Need a different starting point? Use the conversion calculator.
Air fryer pizza dough: FAQ
Can you cook pizza dough in an air fryer without toppings?
Yes, and it is worth doing on purpose rather than only as step one of a pizza. Five minutes at 375°F (190°C), pricked, and turned over at three so both faces dry rather than only the one, leaves you with a finished flatbread: dry, set, pale gold, ready to top now or to wrap and put away. Par-baked bases keep about three days in the fridge and a month in the freezer stacked flat between sheets of parchment, and they go back in topped and straight from cold with two or three minutes added - which turns a pizza into a four-minute job on a weeknight rather than a forty-minute one. The same dough makes garlic knots, breadsticks and calzone in this basket too; those are different recipes with different times and this page does not carry them, but they start the same way and the same two rules hold - roll it thin, prick it through. What does not work is leaving a bare base in for the full nine minutes and expecting a pizza afterwards. Nine minutes of dry air with nothing on it is a cracker.
Can you use canned pizza dough in an air fryer?
Yes, and it wants a shorter first stage than a ball of dough does. A can of refrigerated pizza crust comes out already rolled into a rectangle, thinner and more evenly than most people manage by hand, and it does not need the half hour on the counter - it is formulated not to spring back. It is also not quite the same dough: Pillsbury's classic crust is raised chemically rather than by yeast, with the thin-and-crispy version carrying both, so there is nothing to be gained by resting it and waiting for it to develop. Cut it to fit your basket, prick it, and give it three or four minutes bare rather than five before you turn it over and top it. Our Pillsbury biscuits page covers the rest of what a can of refrigerated dough does in a basket, and it is the same argument about which side browns first.
How long does it take to air fry pizza dough?
Air fry pizza dough at 375°F (190°C) for about 9 minutes, turning the base over at 5 minutes and topping the face that was underneath - the sauce thin and stopping short of the rim, then the cheese. That's for 1 personal pizza (7-inch) in a single layer; adjust slightly for a fuller basket or a different model.
What temperature do you air fry pizza dough at?
Set the air fryer to 375°F (190°C). If you're converting an oven recipe, that's roughly 25°F (15°C) below the oven temperature, with the time cut by about 20%.
Do I need to preheat the air fryer for pizza dough?
A 2-3 minute preheat gives the most accurate timing and the best browning, but it isn't essential - if you skip it, add a minute or two to the cook time.